Proxy Integration in Dolphin Anty
Blog » Proxy Integration in Dolphin Anty
🚀 Dolphin Anty is an advanced anti-detect browser developed for users to manage several accounts online in a secure and effective way. It creates, for every profile, a unique browser fingerprint that does not allow any website to track your activity and link everything together.
Moreover, Dolphin Anty is very useful for every business and person dealing with e-commerce, digital marketing, cryptocurrency, web scraping or any other activity that requires the management of several accounts without being detected or banned. Plus, they offer you a 20% promo code Dolphin for your first Dolphin{anty} subscription
How To Integrate Dolphin Anty with proxies? ☝️
1. Download Dolphin Anty
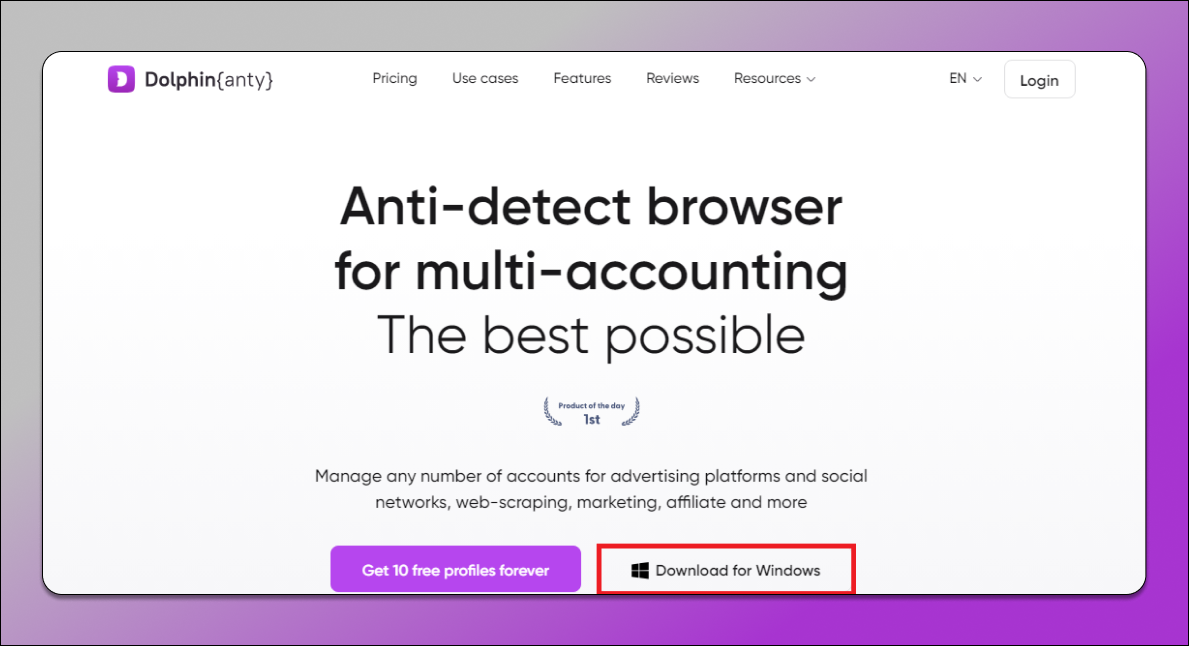
First, go to the Dolphin Anty website. It will immediately detect which OS you are running and give you an option to download accordingly. Now, just click on the ⬇️ Download button for your operating system: either Windows or another supported OS. In this example, I’m going to use the Windows version.
2. Login into Dolphin Anty 📌
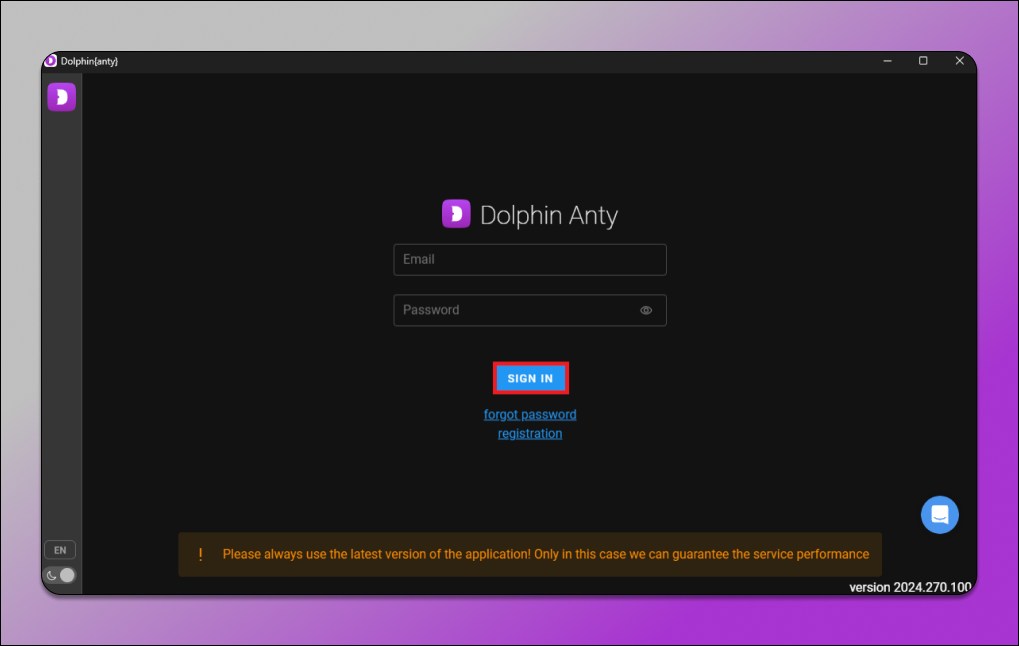
Once you’ve installed the application, open it up. If you already have an account, just log in using your email and password, then hit Sign In. If you’re new, no problem—just click Register to quickly set up an account and you’ll be ready to go!
3. Create a Profile 📁
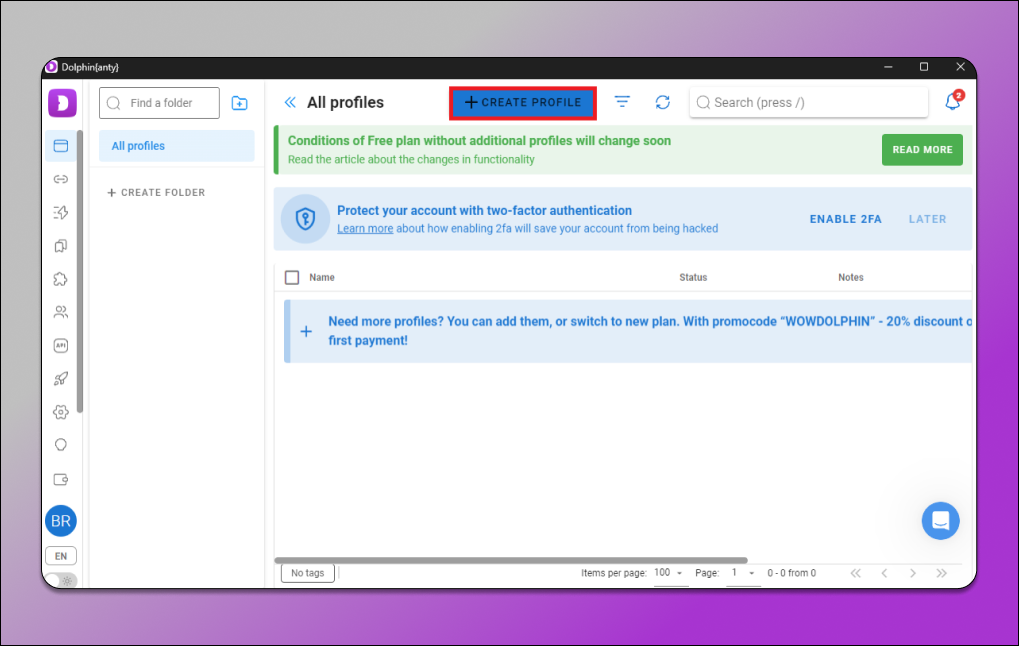
Once logged in, on the dashboard, click on the section All Profiles. When you see a +Create Profile button, just click it to create a new browser profile.
4. Enter Profile Name 🙋♂️
Now, you need to give your new profile a name. You can even fill in optional fields like tags or folder categories to better organize your profiles.
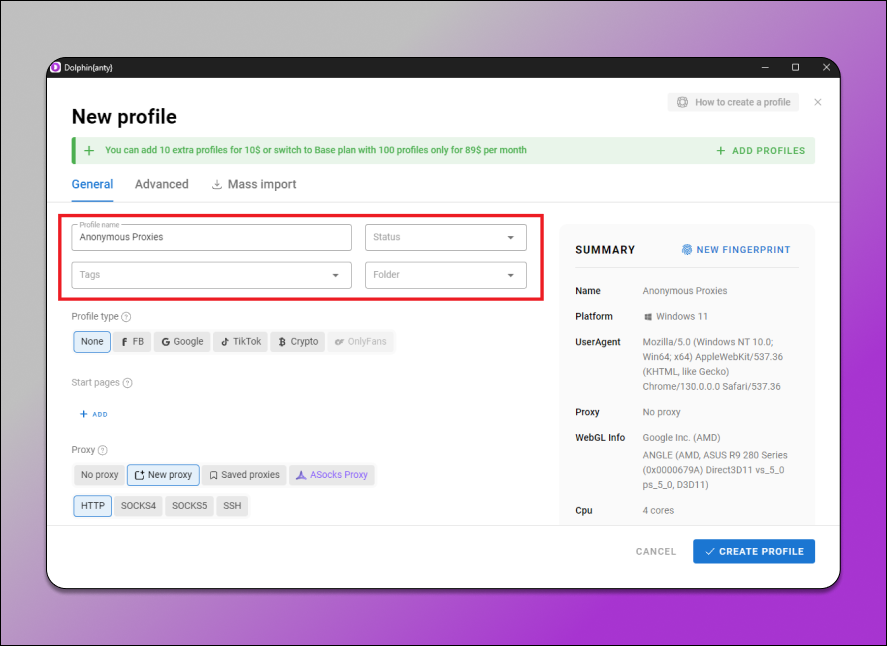
5. Add a Proxy 🔗
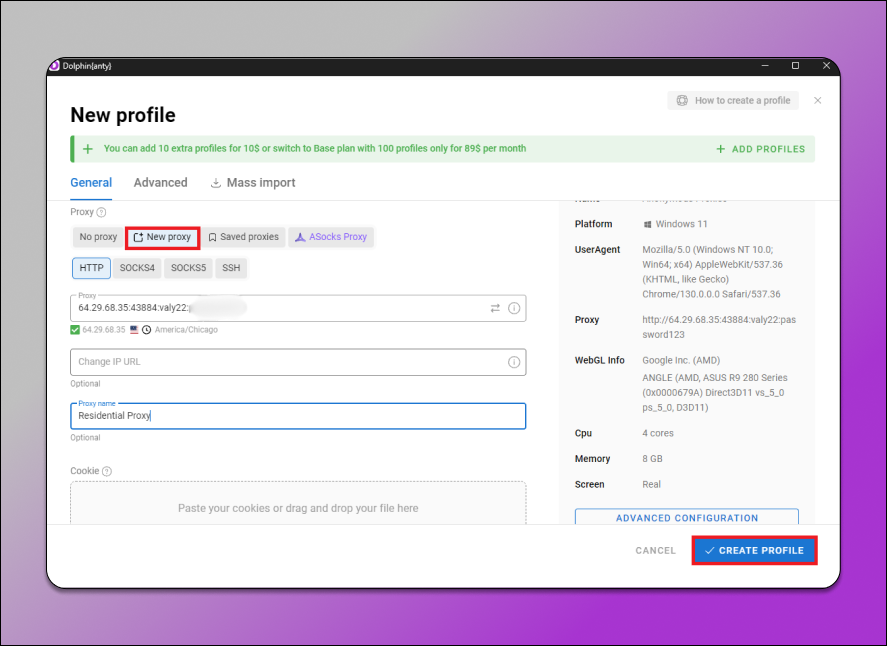
In the same window, scroll down to the Proxy Settings section. Here, you have the option to either select New Proxy to add a fresh proxy configuration or to choose from your saved proxies. If you select New Proxy, be sure that you use the proper format for entering the proxy details:
- Host:Port:Username:Password – Use this format if you have enabled authentication in the Anonymous Proxies Dashboard.
- Host:Port – Use this format if you have whitelisted your IP address in the Anonymous Proxies Dashboard, since no authentication is needed.
Once all the information is filled in correctly, click the Create Profile button to finish the setup.
6. Test Proxy Connection 🔁
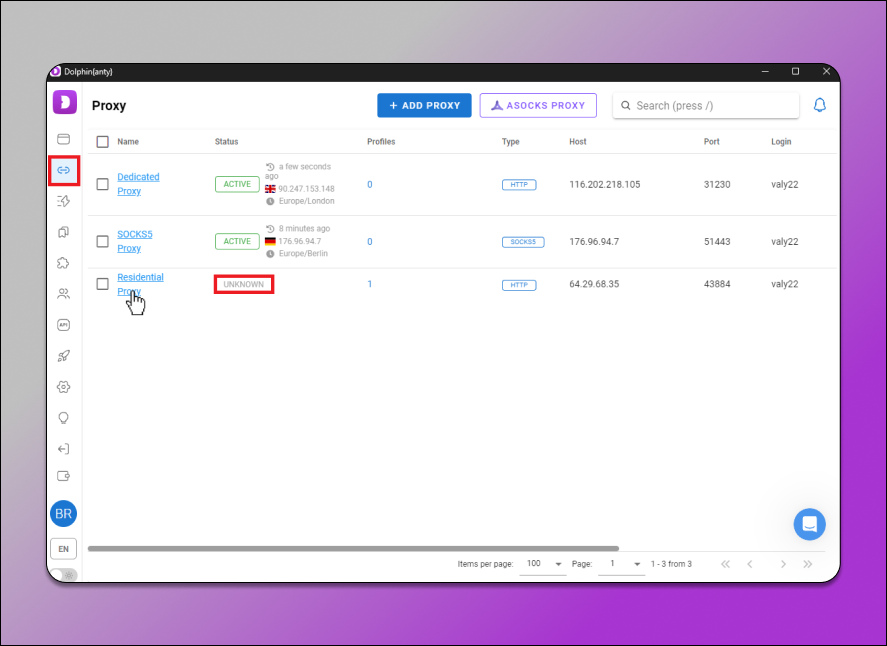
Once you have set up the profile, make sure you check its connection. For that, navigate to the Proxies tab in the dashboard. If the connection status appears as Unknown, then click on the name of the proxy to open up its details, then select the Check Connection option.
7. Verify Active Status ✅
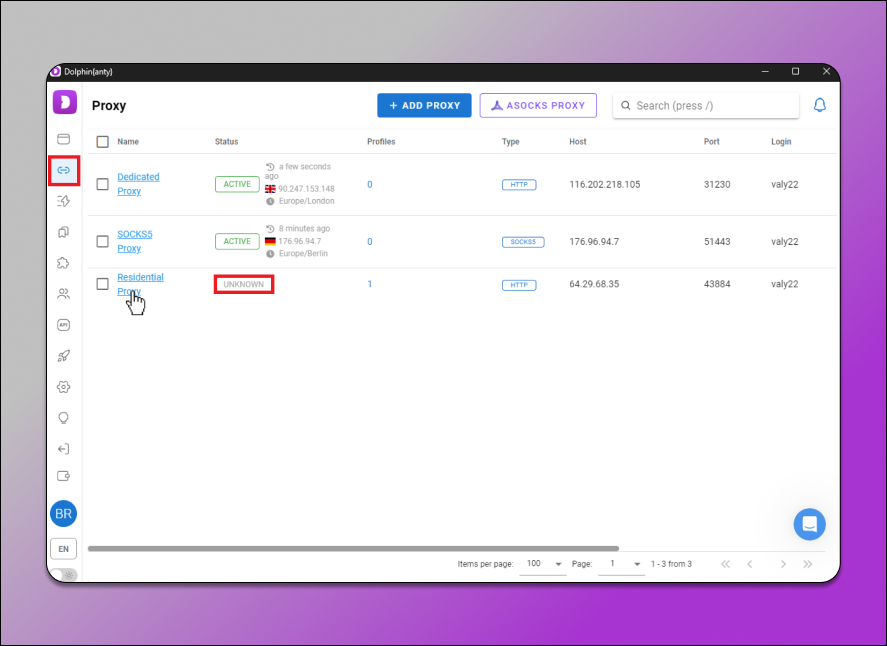
After testing the proxy connection, go back to the Proxies tab and see if the status has changed. If the status Active has appeared, it means that everything works fine.
8. Start the Profile ⬆️
Now, go to All Profiles section and find your newly created profile. Click on the Start button to launch the browser instance for this profile.
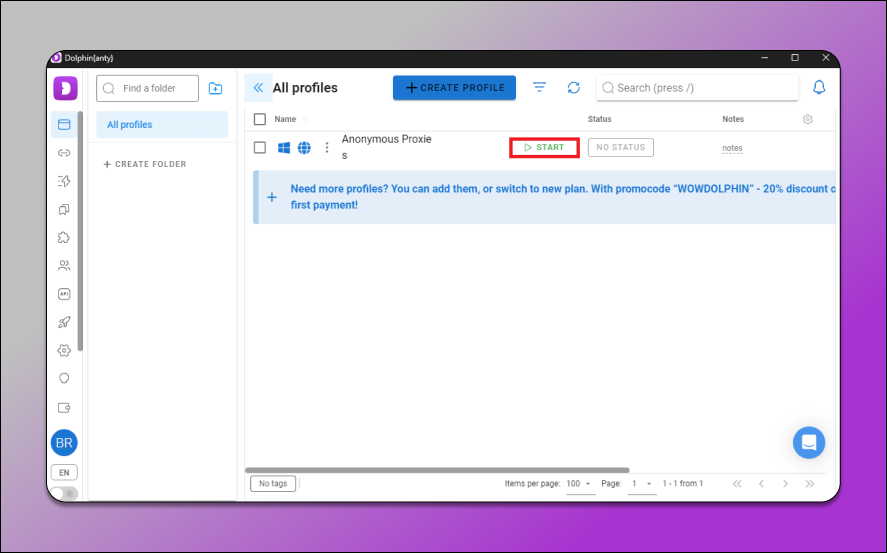
All done! Your Anonymous Proxies are now successfully set up with Dolphin Anty.
Conclusion 🤓
Combining 🚀 Dolphin Anty with 🥷 Anonymous Proxies really takes your online activities to a whole new level. Be it managing multiple accounts, maintaining your security or web scraping, which is a little bit more complicated, this duo provides the flexibility and stealth you need to accomplish your objectives.
If you have further questions or have problems setting up Anonymous Proxies with Dolphin Anty, please don’t hesitate to contact our support team. For more tips or integrations with other anti-detect browser , you can visit our integrations page.
