Linking Dolphin Anty with Ping Proxies
Blog » Linking Dolphin Anty with Ping Proxies
The Internet has been a source of development in various sectors; however, it’s hard not to look at its drawbacks. Users face various limitations and privacy concerns 🙅 like browser fingerprint tracking and ad-tracking by technology giants such as Google and Meta.
✅ One way to improve your privacy while online is to use an antidetect browser like Dolphin Anty alongside a Static Residential ISP proxy to help protect your identity and mask your IP address. This guide will cover the step-by-step process of linking both tools while discussing the potential use-cases.
What does Ping Proxies offer? ☝️
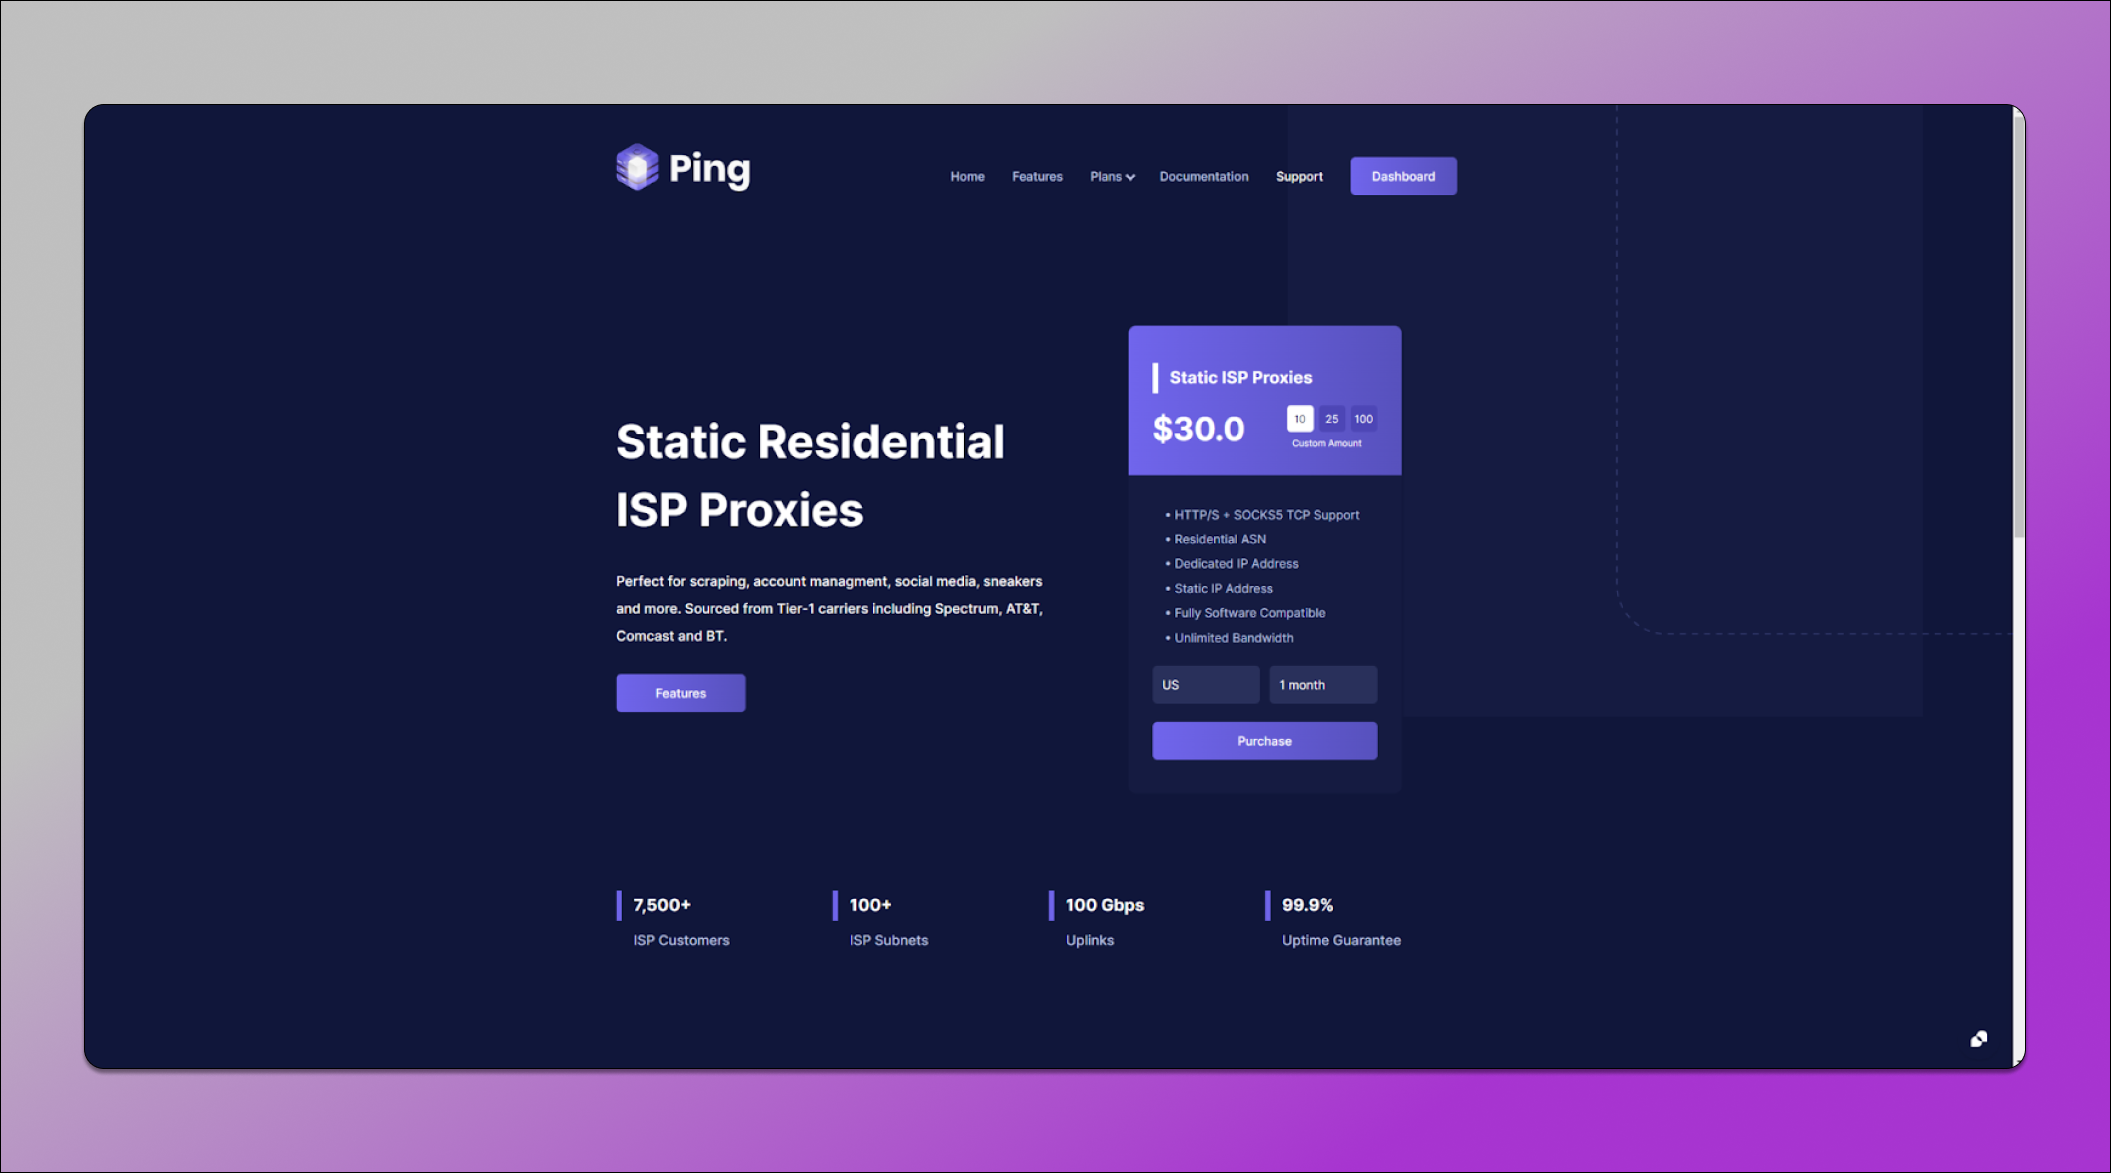
Ping Proxies is an industry-leading proxy provider which offers services including Datacenter Proxies, Static Residential Proxies, Rotating Residential Proxies. Their services are wide-reaching, allowing you to pick IP addresses from every country and major city in the world as well as supporting industry standards like HTTP, SOCKS5 & IP Authentication.
🌎 They use real residential IP addresses sourced through their ethical IP program which mandates informed consent of all network participants as a minimum requirement for their Rotating Residential network which consists of over 25 million peers from all over the world. This allows the company to offer residential peer services in over 180 countries and the sheer size of the pool means city and ASN targeting are both effective.
💲 Unlike many other large providers, they offer residential packages for smaller clients with as little as 1 GB of bandwidth alongside their multi-TB enterprise service levels. All packages are affordably priced and market competitive.
🌐 Their Static Residential ISP network is also very large with over 70,000 IPs and supports B2C, B2B, and reselling clients. A global web of Internet connectivity agreements with service providers like AT&T, Comcast, Spectrum, Vocus allows them to offer Static ISP Proxies in the United States, Europe and even Australia with plans to launch in Asia soon.
Here is a brief overview to understand the available proxies at Ping Proxies:
- Rotating Residential Proxies: These are proxies that automatically change IP addresses to prevent detection and keep the users identity and activity private.
- Static Residential ISP Proxies: These proxies are generated from real residential Service Providers (ISP) and offer ultra-fast speed and security.
- Datacenter Proxies: These are IP addresses from datacenters. They’re very performant but are relatively easy to detect.
Step 1: Sign Up To Ping Proxies 🔗
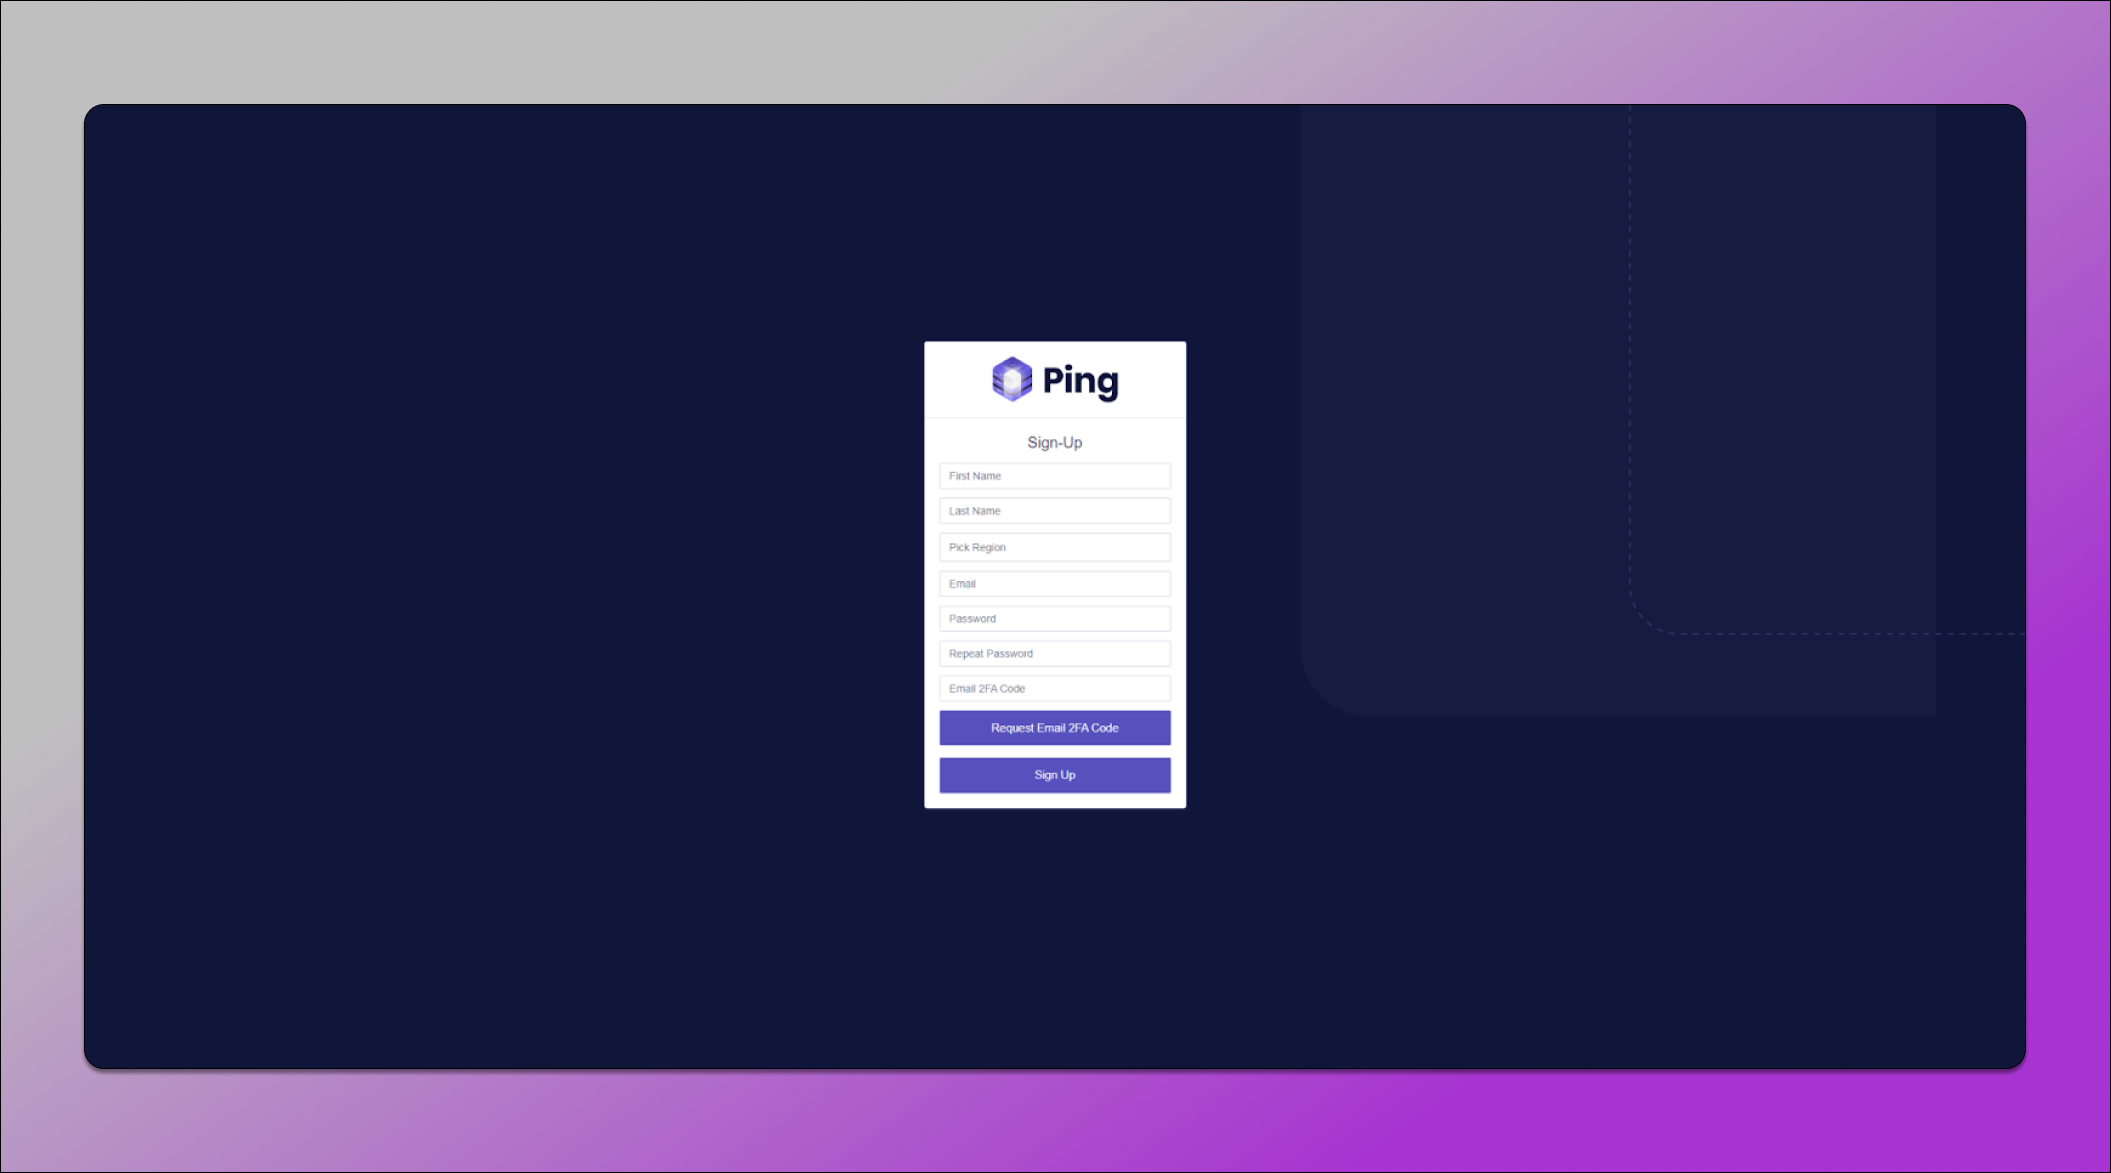
Simply head over to the Ping Proxies Sign Up page and make an account. You’ll have to verify your email address but other than that; it’s very straightforward.
Step 2: Make a purchase 💰
💸 Head over to any of the product pages mentioned above and make a purchase. You can purchase any quantity by selecting custom and checkout with all major cards and cryptocurrency. Once you’ve purchased, your proxies will be delivered to you via email instantly and then you can begin using them.
For long term account management, we tend to recommend Static Residential ISP proxies as they offer stable residential connections.
Step 3: Create a New Profile 💻
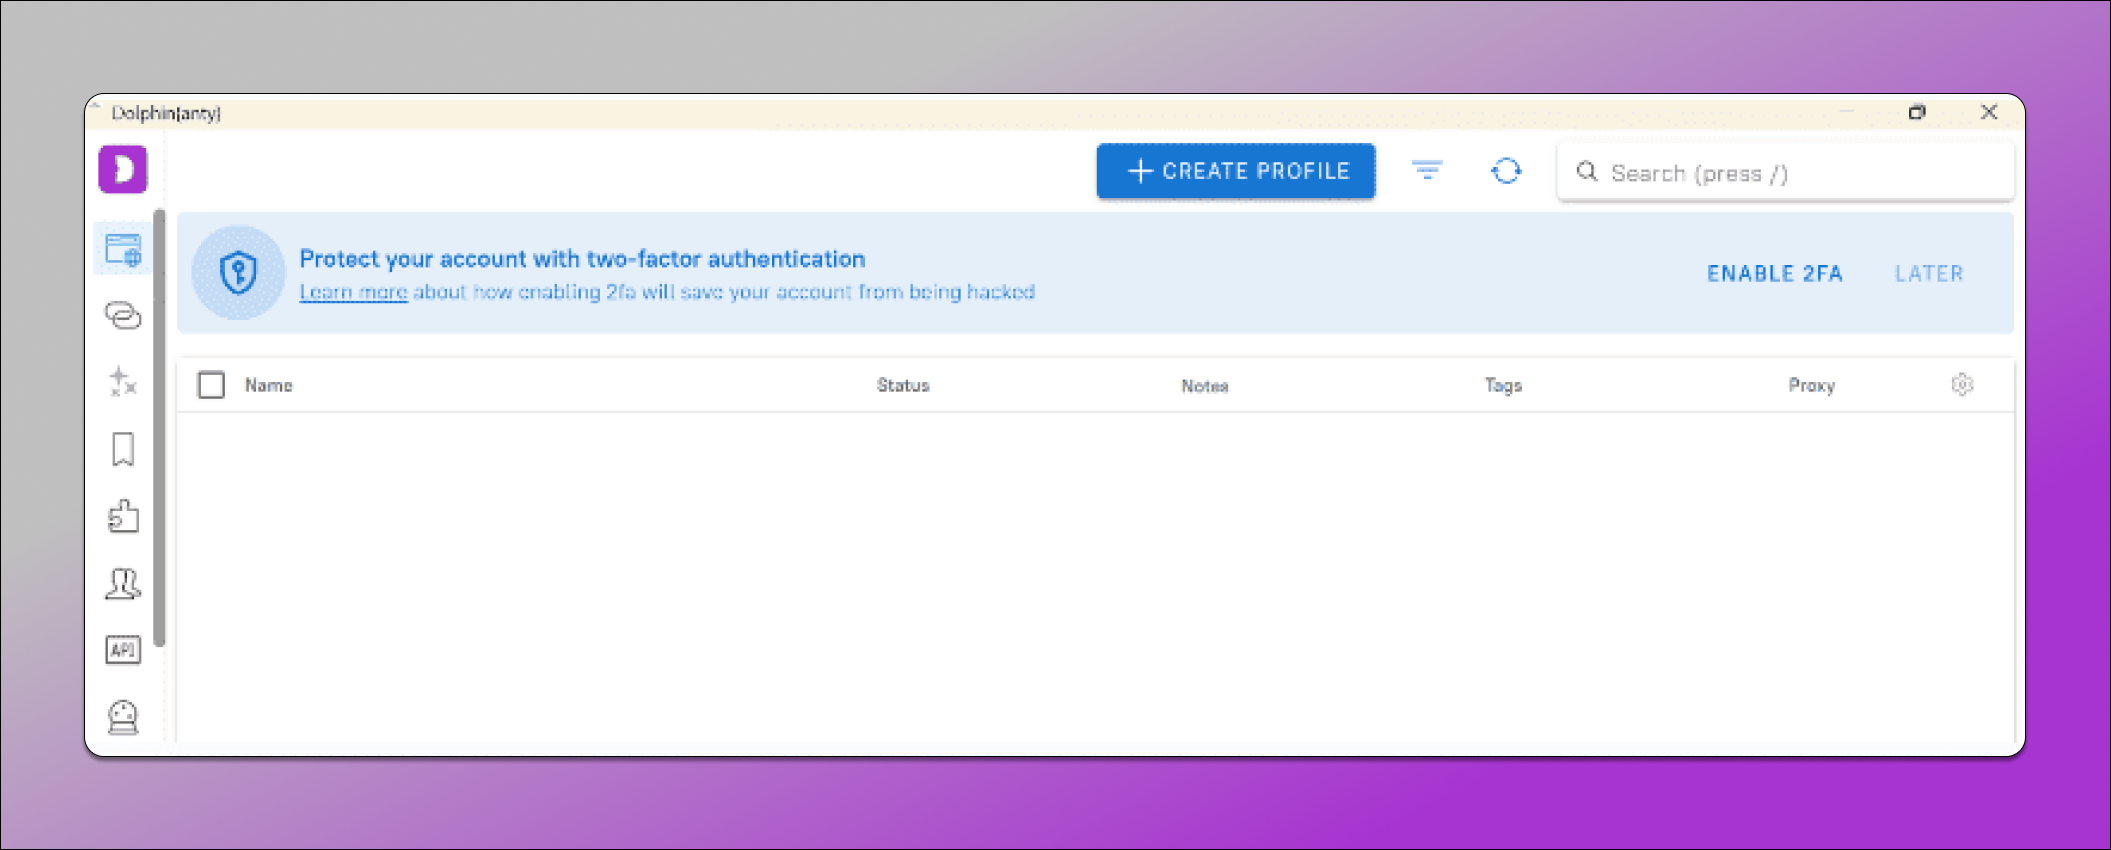
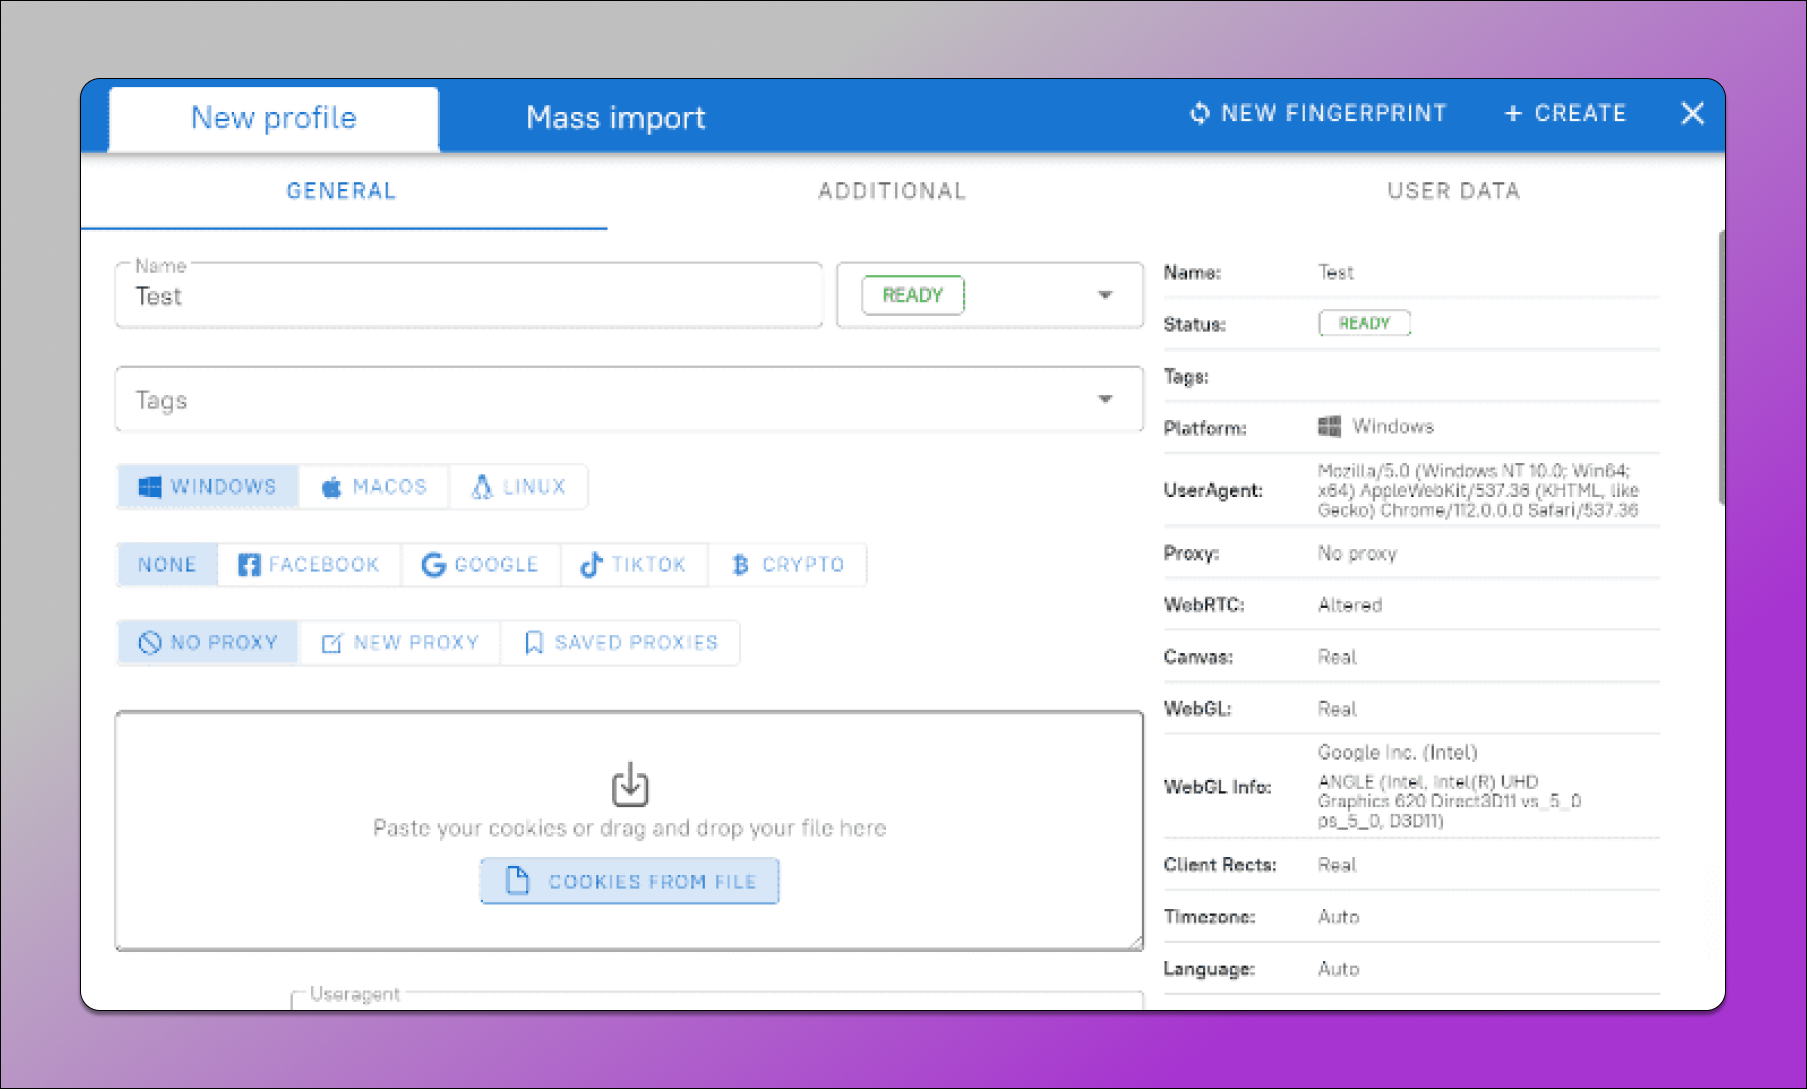
Click the “Create profile” button in the upper panel. A window will pop up to adjust the default settings. To begin, type in the name of the profile, select a status, and, if needed, add tags.
Step 4: Add Proxies from Ping Proxies 📌
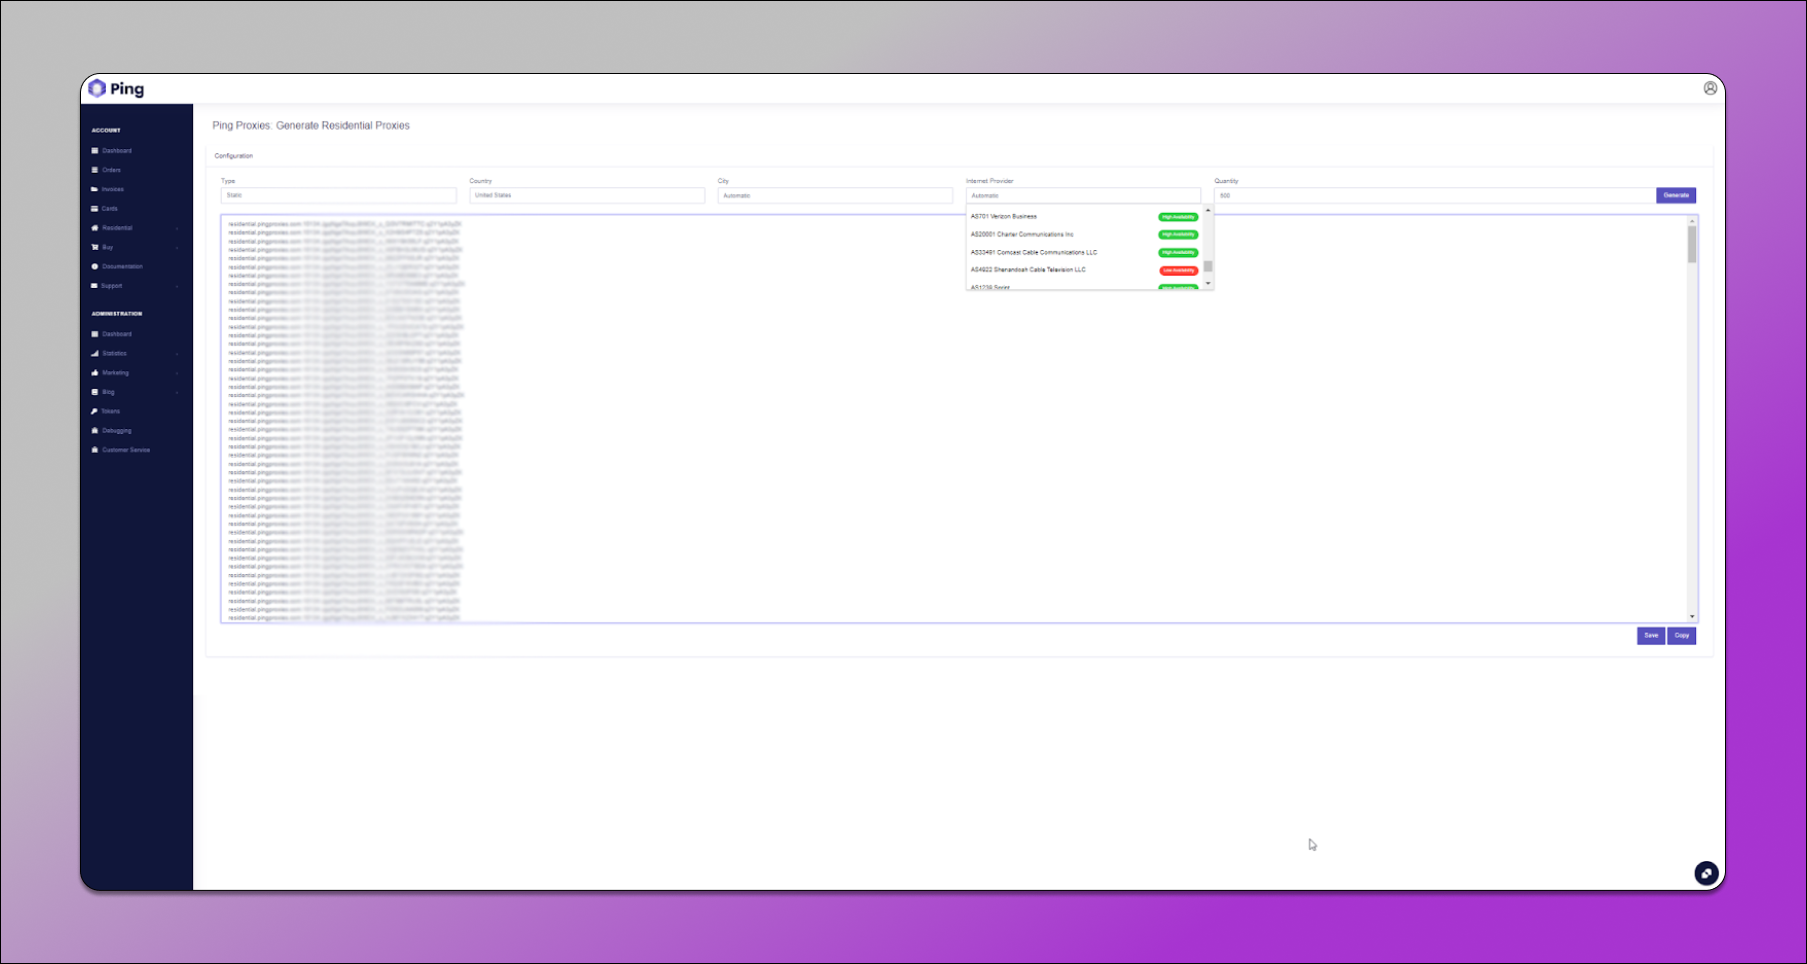
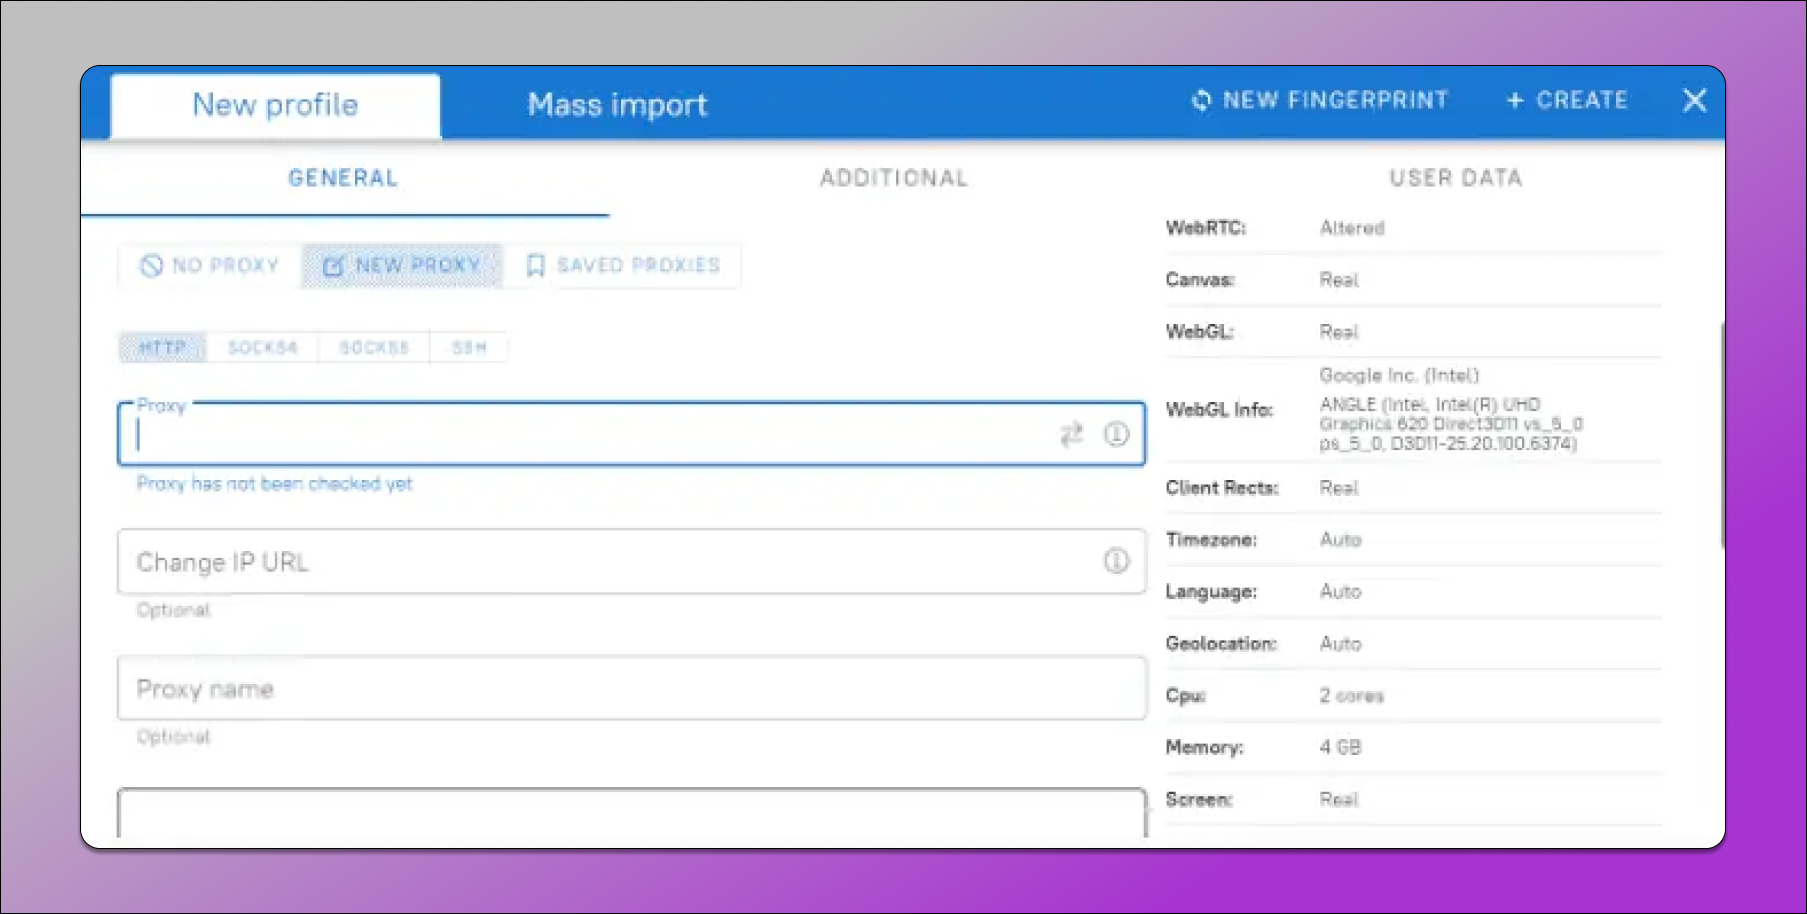
🔥 Ping Proxies delivers Static Residential ISP proxies in IP:PORT:USERNAME:PASSWORD which makes it very easy to import their proxies into Dolphin – just copy the proxies from the Ping Proxies dashboard and then paste them into the new profile proxy section.
If you’re using Residential Pro proxies, you can generate them via the dashboard by selecting the specific city or country and ISP you want to target. Once generated, these are also in IP:PORT:USERNAME:PASSWORD format, making it easy to import into Dolphin.
Step 5: Complete the Profile ✅
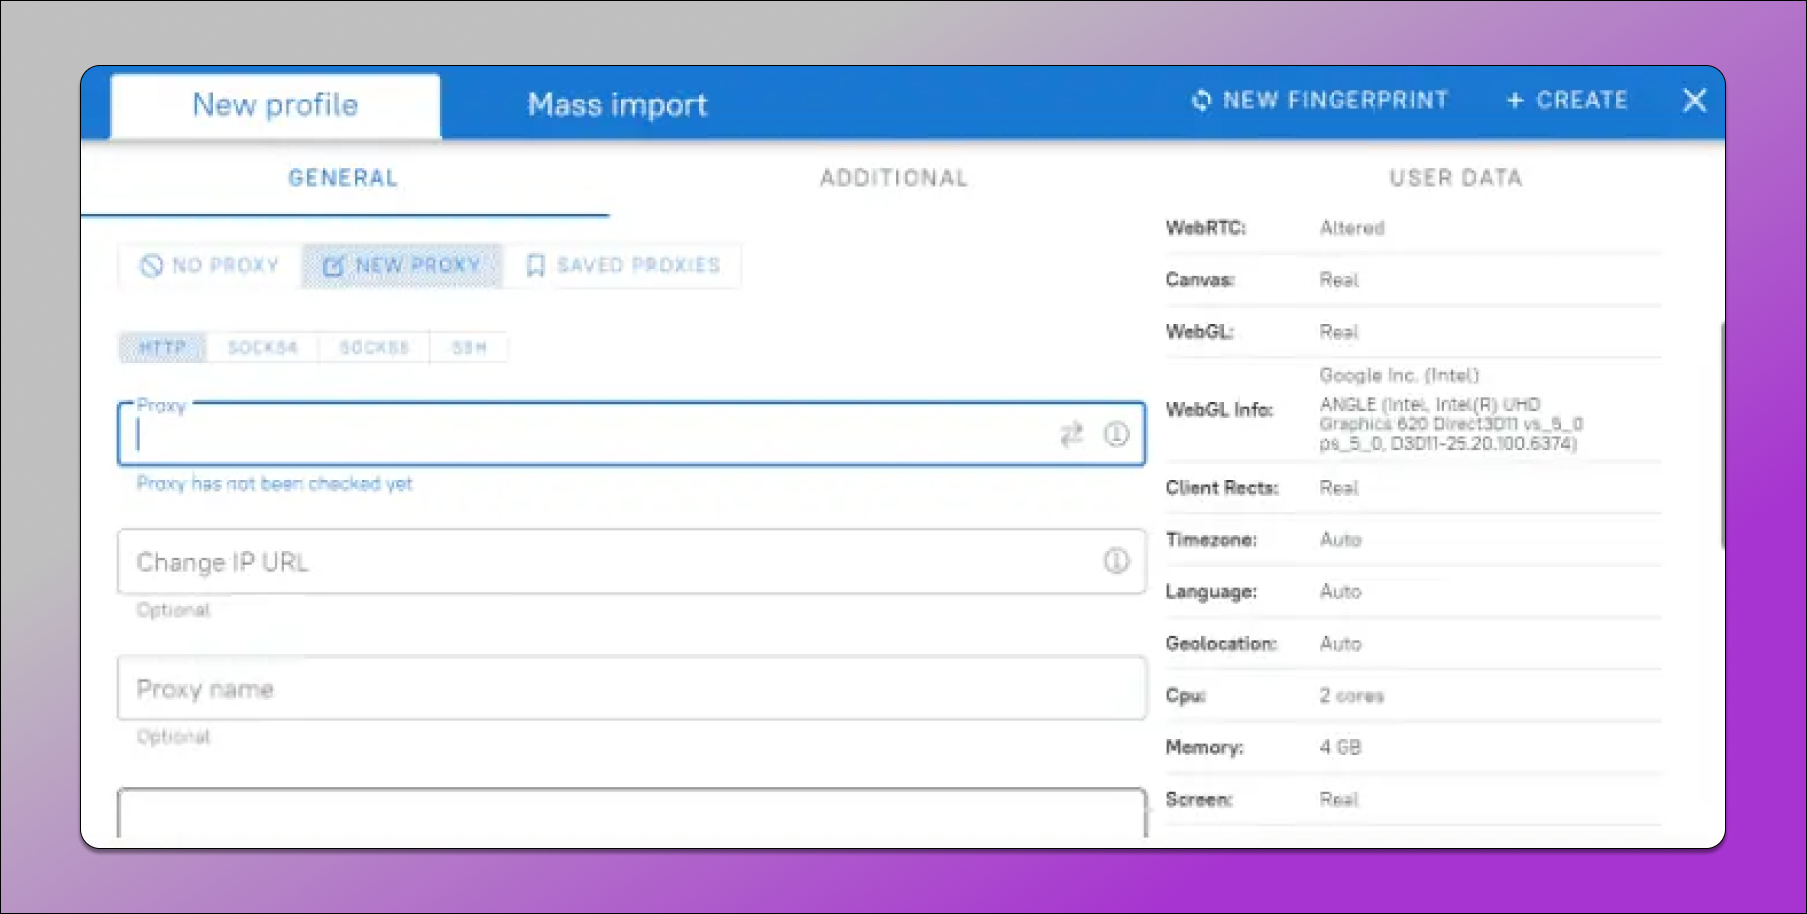
There is the option to add notes to help keep things organized.
Finally, click on the “Create” button in the top panel to complete the profile.
